Your jaw looks square in a mirror, your face looks round in a selfie, and a different photograph suggests something longer. Before changing your label again, check how the images were made. Distance, camera height, lighting and expression can all change the outline you see. A repeatable photograph is useful for comparing haircuts or frames; a random close selfie is a much less reliable starting point.
Understand how distance changes facial proportions
A phone held close to your face gives the camera a view that differs from the view someone has across a table. The nose is nearer the lens than the ears, and that difference in distance becomes more significant when the camera is very close. The middle of the face can look more prominent while the sides seem to recede. If you classify your face from that image, you may be classifying the camera position as much as your proportions.
Step back and make another photograph rather than stretching your arm as far as it can reach. A phone resting securely on a shelf with a timer is a practical starting point. Leave enough distance to include the head and shoulders, then crop afterwards. You do not need a tightly framed portrait straight from the camera. The useful change is the increased working distance, not a promise that a particular zoom setting produces the true face.
A longer focal length can help you fill the frame from farther away, but changing focal length without moving the camera does not produce the same perspective change. Phone zoom buttons may also switch cameras or crop the image. Keep the setup simple: choose one camera, stand at a comfortable distance, and make your comparisons there. A photo taken from that position is a more consistent reference, not an absolute measurement of your face.
Keep the camera level and the pose neutral
A raised phone encourages you to lift your eyes or tip your chin. That view can make the forehead more conspicuous and the lower face less visible. A low camera does something different: the underside of the chin and jaw becomes more prominent. Neither view provides a neutral outline for deciding whether your face is oval, round, square or oblong.
Position the camera approximately at eye level. Face it straight on with your shoulders comfortable and your chin neither lifted nor tucked toward your chest. Look at the lens rather than down at your own image. Take a second photograph after relaxing your posture; people often hold a strained expression when they are trying to look perfectly symmetrical. You are looking for a repeatable view, not a passport-photo performance.
A small turn can make one cheek appear wider and the other side narrower. Use the nose and the visible amount of each ear as rough orientation checks, while allowing for normal asymmetry. Do not force the head into an uncomfortable position to make every feature match. If you want a side view for a haircut consultation, take it separately and label it in your private notes so you do not compare it with a straight-on reference by mistake.
Separate shadows, expression and hair from outline
A bright window on one side may put the opposite cheek or temple in shadow. The dark boundary can look like a narrower face even though it is simply less visible. For a comparison photograph, use soft light that reaches both sides fairly evenly. Facing a window at a comfortable distance is often easier than standing directly beneath a ceiling light. Avoid judging the jaw from a harsh shadow cast under it.
Pull hair away from the sides just enough to see the outline, without stretching the hairline or using a tight style as the only reference. A fringe can shorten the visible forehead; a full blow-dry can widen the outline around the temples; a beard can extend the lower face. Those are useful styling effects, but they are different from the underlying outline you are trying to observe.
Expression changes the picture too. A broad smile raises the cheeks, while pressed lips or a clenched jaw can change the lower-face contour. Start with a relaxed face, then keep a smiling photograph as a separate everyday reference. A haircut or a pair of glasses has to work when you move and smile, so the neutral image should support your decision rather than become the only version of your face that counts.
Turn off optional beauty filters, face reshaping and portrait retouching where you can. Some processing is automatic and may not have a clear switch. If the camera app visibly narrows your jaw or changes your eyes, use another available capture mode for the comparison. Do not rely on an edited social-media portrait for home measurements.
Compare a consistent set of photos with a mirror
Make two or three images with the same camera position, lighting and hairstyle rather than collecting dozens of unrelated selfies. Keep one neutral front view, one comfortable smiling view and, if useful, a side view. Save them together with a short note about the setup. Next time, you can repeat the conditions instead of wondering why a new selfie disagrees with an old one.
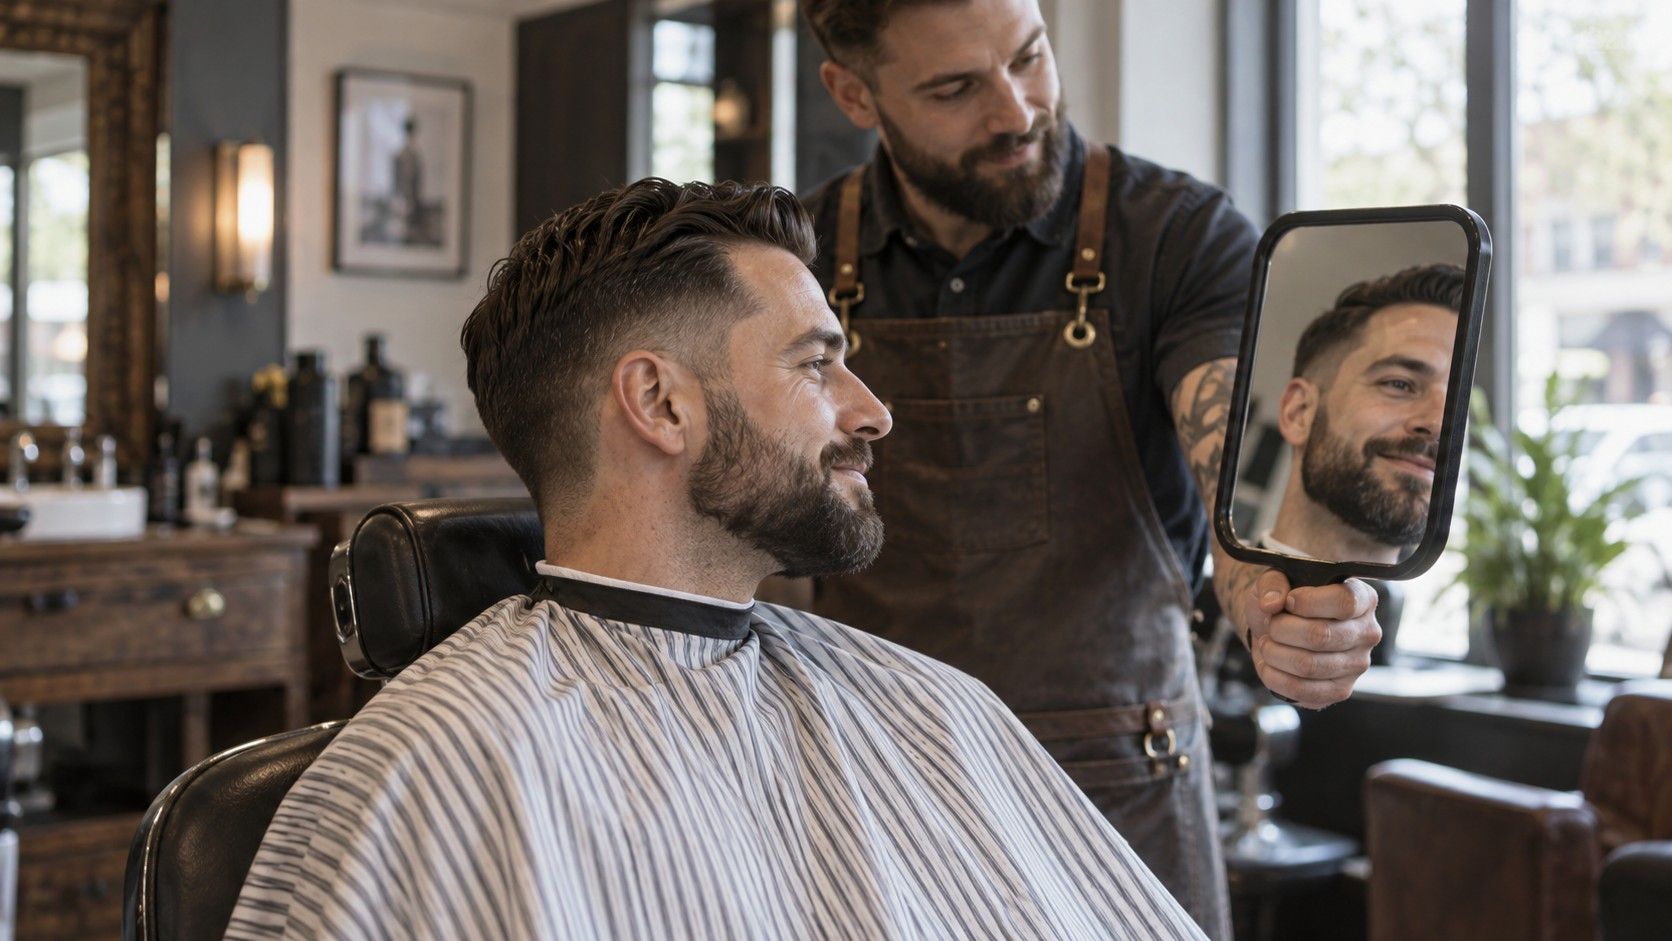
A mirror gives you another way to inspect the broad outline. Stand far enough back to see the whole head and upper shoulders without leaning toward the glass. Compare the apparent width of the forehead, cheekbones and jaw, then consider length. You do not need to draw on the mirror or trace your skin. If you make a digital outline on a private copy of the photo, follow the visible boundary rather than hair volume.
Your mirror image is reversed relative to many saved photographs. Some phone previews are mirrored and the saved result is not. Familiarity can make one version feel more natural even when the proportions have not materially changed. Check the camera setting before interpreting that unfamiliar feeling as proof that your face shape changed. Normal left-right differences will appear on opposite sides.
Look for features that persist across the consistent images and the mirror. Perhaps your cheekbones remain the widest point, while the jaw looks rounded in one photograph and more defined in another. Record the stable observation. A description such as longer than wide with a softly tapered jaw can be more useful than switching between two labels every time the light changes.
Know when a photo cannot settle the label
Face shape charts reduce a three-dimensional face to a small set of flat categories. Real faces often combine traits: a broad forehead, a tapered chin, a long middle section or a rounded jaw can occur together. Two sensible observers may use different labels for the same person. That disagreement does not mean that one of them has discovered a problem with your appearance.
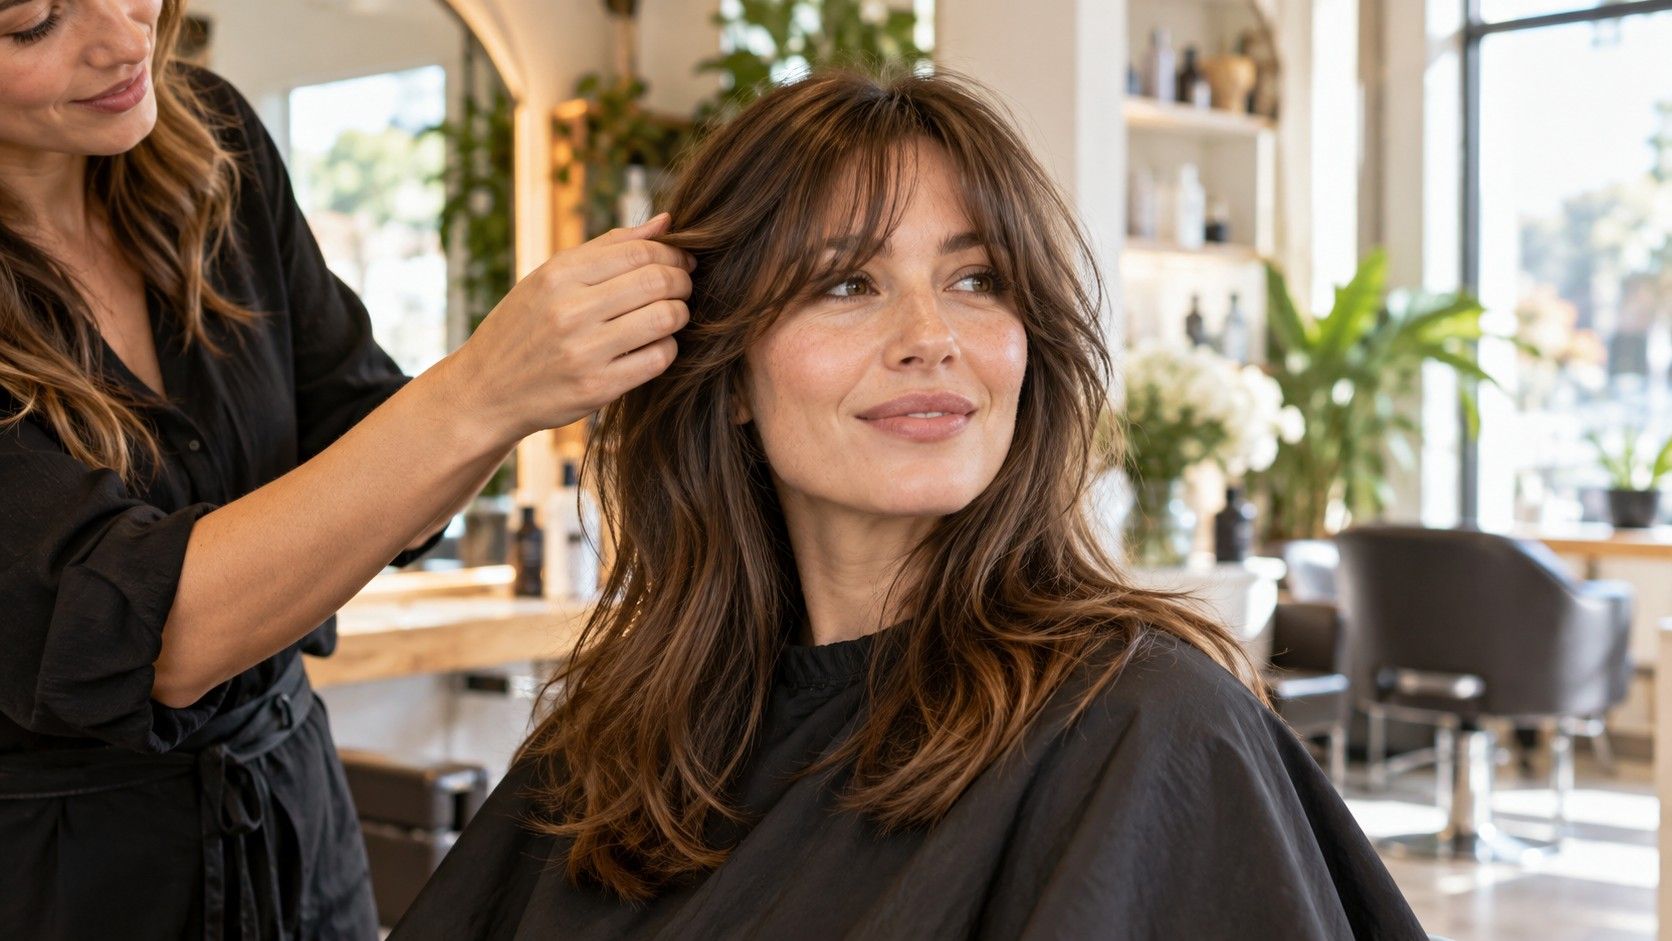
If your goal is a haircut, stop the classification exercise when you can explain what you want the hair to do. You might want less height at the crown, a fringe that stays out of your eyes, or ends that sit above a strong jawline. Bring a consistent photograph and examples showing a similar hair texture. The stylist can discuss density, growth direction and maintenance with you in person.
For glasses, an outline photograph cannot confirm bridge comfort, pressure behind the ears or whether the lenses touch your cheeks when you smile. Use it to compare the visual scale of frames after checking the physical fit. A frame can look proportionate in a still image and still slide down every time you look at a screen.
Keep the photographs private if you prefer. There is no need to upload them to an unknown analyzer to finish this exercise. If you choose a tool, review what it says about image storage and deletion before sending a portrait. Treat its label as another suggestion to compare with your observations. The practical endpoint is a reference you can use for a styling choice, not a permanent verdict on your face.