A ruler can help when a face shape chart leaves you between two labels, provided you measure the same landmarks in the same way. The useful result is a rough picture of length, forehead, cheekbones and jaw. This method keeps those comparisons separate from beauty rules and gives you a short record you can bring to a haircut or glasses appointment.
Choose a mirror and a consistent method
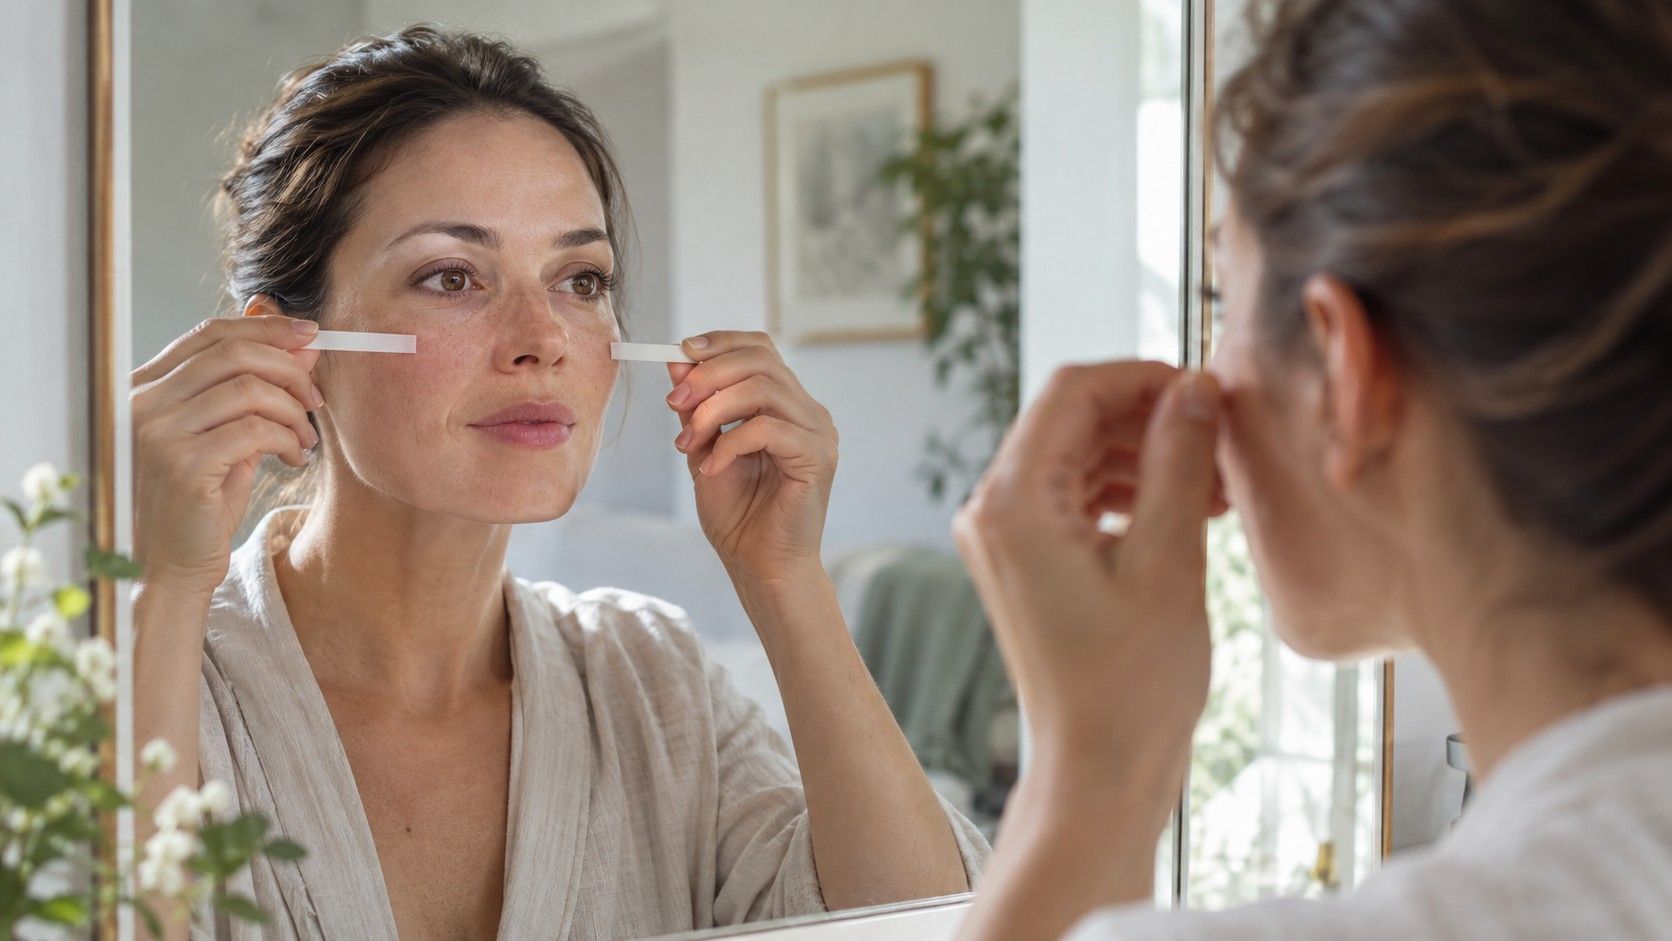
Gather a mirror, paper and a ruler or flexible measuring tape. A helper can make it easier to keep landmarks consistent, but you can work alone. Tie back hair so the temples and central hairline are visible. Remove glasses, relax the jaw and face straight ahead. Avoid measuring while smiling or tilting your head to see the ruler; change the mirror height instead.
Decide whether you are taking direct measurements or comparing a front-facing photograph. Both can help you observe proportions, but they produce different kinds of numbers. A tape following the curve of the cheeks measures a surface path. A line on a photo measures a flat image. Do not combine those values in one set. Write the method beside your results so a later comparison uses the same approach.
If using a ruler near the face, keep it clear of the eyes and avoid pressing it into the skin. Hold it in front of the relevant landmarks and read carefully in the mirror, or ask a helper. There is no reason to risk discomfort for a styling label. Where direct measuring feels awkward, use a photograph and describe the outcome as an approximate visual comparison.
Measure length and the three main widths
For face length, use the centre of the visible hairline down to the bottom of the chin. Record those endpoints in words. A widow’s peak, a receding hairline or a covered hairline makes the starting point less clear, so note the limitation. Changing the starting point can alter the result more than reading the ruler more carefully. Do not substitute the top of the head for the hairline.
For forehead width, choose corresponding points near the temples across the broad visible forehead area. There is no need to hunt for an invisible anatomical boundary. Pick points you can identify again and record roughly where they sit. Hair lying over the temples makes this comparison harder; pull it back gently or mark the forehead width as uncertain rather than estimating from the hairstyle.
For cheekbone width, compare the outermost visible points around the cheekbones from the front. Keep ears outside the measurement. A tape drawn over the nose adds a curved path that a flat photo line does not include. Use one method consistently and resist the urge to tighten the tape. The aim is a repeatable comparison of widths, with the face relaxed.
For jaw width, use matching jaw corners across the lower face and note that you measured corner to corner. Some guides instead measure from one jaw corner to the chin and double it. That creates a different path and should not be substituted into your set. If a beard hides the corners, write “jaw edge obscured” and rely more on the features you can actually see.
| Measurement | Landmarks to record | Common source of disagreement |
|---|---|---|
| Face length | Central visible hairline to bottom of chin | Hairline choice or head tilt |
| Forehead width | Matching visible points near the temples | Hair covering the sides |
| Cheekbone width | Outer visible cheekbone points | Curved tape path versus flat photo line |
| Jaw width | Corresponding jaw corners | Beard coverage or a different measuring method |
Read proportions without treating ratios as rules
Put the four face shape measurements beside one another. First ask which difference is obvious: is length noticeably greater than cheekbone width, and which of the three widths leads? If two values are close, call them similar. A small difference may come from where you placed the endpoints. Numbers are helpful when they make a broad relationship clearer, not when they manufacture certainty from an uncertain edge.
A longer face with a gently narrowing lower outline may fit an oval description. Similar length and width with curved sides may suggest round, while a broad jaw and straighter sides may suggest square. A long, straighter outline may be described as oblong or rectangular. These are common visual descriptions rather than a universal classification system. The outline still matters when the measurements look similar.
Compare forehead and cheekbone widths when the chin narrows. A broader upper face may lead you toward a heart description; cheekbones that clearly exceed both forehead and jaw may lead toward diamond. A broader lower face may fit a triangle or pear description. None of those observations determines the whole category by itself. Look at jaw corners, taper and overall length before choosing a working label.
Avoid adopting a strict ratio from an unattributed chart as a pass-or-fail boundary. Different charts use different landmarks and terms, and your own measuring method carries uncertainty. You can calculate length divided by width for your notes, but the number does not give a compulsory label or an attractiveness score. “Longer than wide, with similar forehead and cheekbone widths” often communicates more clearly.
Repeat measurements when results conflict
Take a second reading with the same endpoints and method, then compare it with the first. If the broad pattern stays the same, you probably have enough information for a styling conversation. If it changes, inspect the setup before measuring again. Was the ruler angled? Did the tape follow the cheek on one attempt and sit across it on another? Did the head tip upward to see the markings?
When two attempts disagree, keep a small range instead of selecting the value that fits a preferred category. For example, a forehead that reads slightly wider in one attempt and slightly narrower in another can be recorded as similar to the cheekbones. An average cannot repair mismatched landmarks. Fix the method first, and only combine readings taken in a comparable way.
Compare the numbers with the mirror once more. A measurement set that suggests a very broad jaw while the visible jaw tapers deserves a method check, especially if facial hair hides the corners. Conversely, a rounded jaw may coexist with a relatively wide lower face. Width and corner shape are separate observations. Write both rather than expecting one number to describe the entire contour.
Set a stopping point after a couple of careful attempts. Repeated checking can consume an afternoon without helping you choose a fringe or a frame. If the result remains mixed, use a mixed description and move on to the trial. Uncertainty is acceptable here: face shape is a styling shorthand, and a choice can still work well when its label is approximate.
Keep a short record for your next appointment
Write the date, method and four measurements on one note. Add a sentence about landmarks if they were hard to identify: “forehead partly hidden by hairline” or “jaw corners estimated through beard”. Keep the original photograph if you used one and feel comfortable storing it. A note that explains how a value was obtained is more useful than an unexplained row of precise-looking numbers.
Add a plain-language reading such as “longer than wide, broad cheekbones, rounded jaw”. Then add your preference: more width near the cheeks, an open forehead, less daily styling, or simply a frame that stays in place. Preference belongs next to the proportions because it explains what you want the measurements to help you do. There is no requirement to make the face appear closer to another shape.
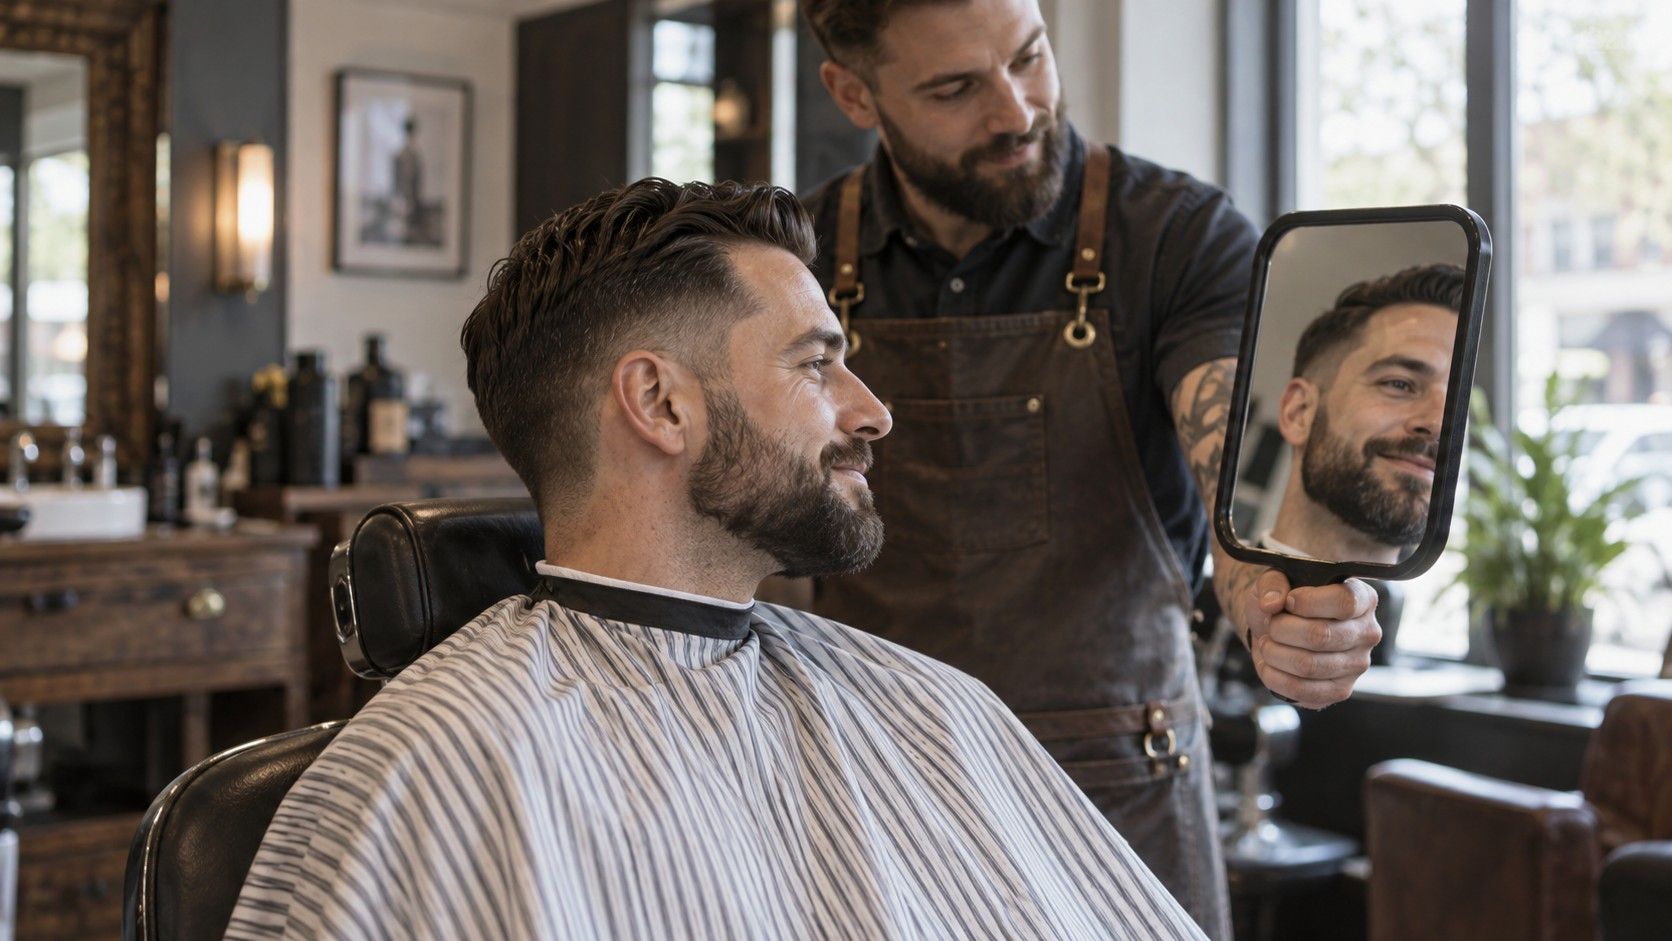
At a salon, use the note to support a conversation and bring reference photographs of the hairstyle itself. Mention your hair texture, usual parting and how you dry it. Ask how the proposed cut will behave when you style it at home. Your measured face length cannot account for curls springing up, a fringe splitting at a cowlick or the amount of time available before work.
For an eyewear appointment, take the shape description as a starting prompt and test the physical fit separately. Notice whether the bridge slips, the temples press or the lower rims touch your cheeks when you smile. Try different frame shapes in a consistent mirror view. A comfortable fit and a look you enjoy are useful outcomes even when a conventional chart recommends something else.
You do not need to repeat the exercise on a schedule. Return to it when a specific choice makes the old note unhelpful, and use the same landmarks where possible. Learning how to measure face shape should leave you with a clear description and a manageable next step. If you can explain what you see and what you want to try, the measurements have already done their job.