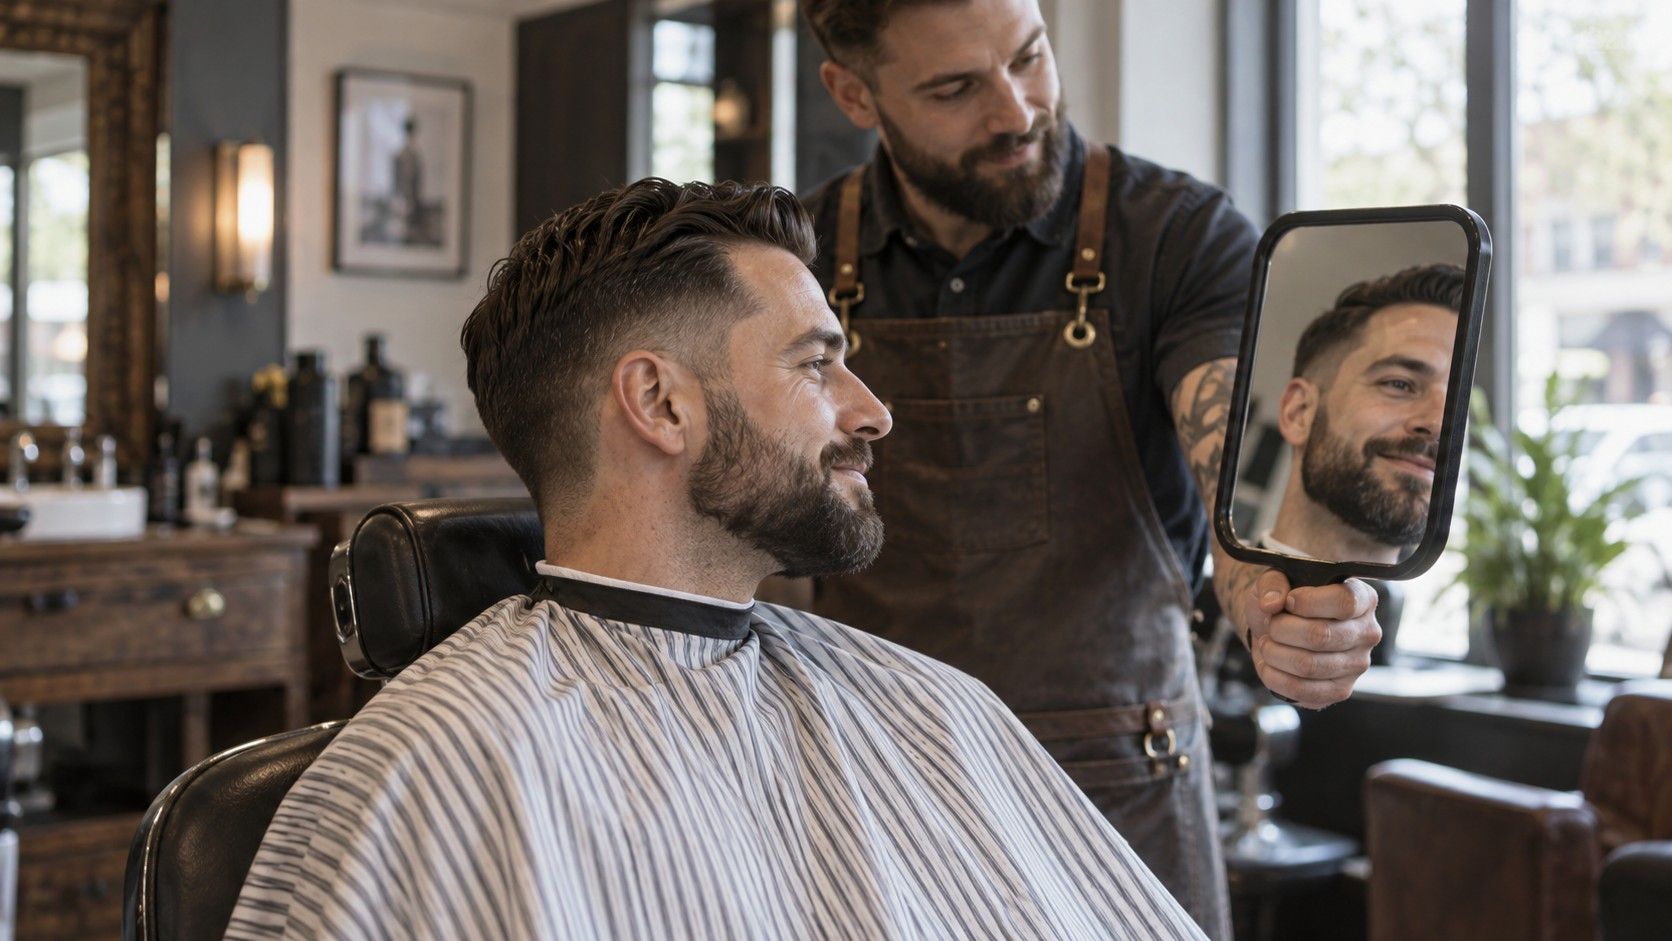
An angular jaw can appear in both square and rectangular faces, so it is easy to choose a label from the wrong feature. Compare overall length and width first, then separate the outline of your face from the outline created by hair or a beard. That gives you a practical starting point for a haircut or glasses, while leaving room for personal preference.
Start with the shared angular jaw
Square and rectangular face shapes often share an angular lower outline, which is why the two labels get mixed up. A visible corner near the jaw may suggest either. The main comparison is how the face’s length relates to its width, considered alongside the forehead, cheekbones and jaw. A strong jaw by itself does not tell you which description is more useful.
Look straight into a mirror with your teeth resting naturally and your expression relaxed. Follow the side of the face down from the temple, across the cheek area and toward the jaw corner. Notice whether the sides read as fairly straight or noticeably tapered. Do this without clenching: tightening the jaw can change the outline you are trying to observe.
Keep the chin separate from the jaw corners. Someone can have a broad lower face with a rounded chin, or an angular chin within a face that narrows at the cheeks. Face-shape categories simplify several features into one word. When the details disagree, describe the details instead of trying to make the whole face fit a diagram.
A square outline generally looks more compact. A rectangular face shape generally carries a similar angular impression through a longer vertical outline. This is a visual comparison, not a requirement for identical forehead and jaw measurements. Real faces have curves, asymmetry and transitions that a geometric rectangle does not.
Compare length with width in a neutral photo
Take a front-facing photograph with your hair clear of the forehead and temples. Position the camera near eye level and far enough away that you can crop the picture afterward. Use a timer if holding the phone encourages you to tilt your chin. A relaxed, straight-on image is easier to compare than a portrait taken from above.
Identify the upper forehead, the lowest point of the chin and the widest visible cheek area. Compare the overall vertical extent with the horizontal span. If the face looks extended while retaining fairly straight sides and an angular jaw, rectangle may be a useful shorthand. If the outline feels more compact, square may describe it better.
Do not chase a universal ratio. Hairline position, measurement method and the point chosen at each cheek all affect the numbers. If you measure, use consistent landmarks and keep the notes. A small difference between two attempts should prompt another look at the photograph, not a new conclusion about your appearance.
| Observation | Square impression | Rectangle impression |
|---|---|---|
| Shared outline | Angular jaw and relatively straight sides | Angular jaw and relatively straight sides |
| Overall proportion | More compact from forehead to chin | More visibly extended from forehead to chin |
| Common distraction | A close selfie exaggerating part of the face | Hair or beard adding vertical length |
Check the impression in a mirror as well. A photograph flattens depth, and a single image can catch an odd expression. If the mirror and a consistent photograph broadly agree, you have enough information for styling experiments. Repeatedly measuring tiny differences rarely makes a haircut decision easier.
See how hair and beards change the outline
Hair can make a compact face appear longer without changing its underlying proportions. A high quiff or a top-heavy style extends the visible silhouette above the forehead. Closely cropped sides may make the remaining outline feel narrower. Compare a pulled-back or flattened version with your ordinary hairstyle before attributing all of that height to your face.
A fringe changes the visible forehead area, which can make the face look shorter within the hairstyle. Its thickness and position matter: a light, broken fringe frames the eyes differently from a dense straight line. You can test the general impression by pinning a section forward, but that preview will not show exactly how a cut will behave with your texture.
A beard can add length below the chin or width around the jaw. For the square vs rectangle face comparison, note where the natural chin actually ends and where the beard continues. A longer pointed beard may create a rectangular-looking silhouette on a compact face; fuller sides can produce a different impression. Neither effect needs correcting unless you want a change.
Before a trim, show the barber the result you want in plain terms. “Keep some width at the sides and take less length below the chin” is more actionable than a shape label alone. Ask how the outline will look between appointments. A sharply edged beard in a fresh reference photo may need more maintenance than you want to give it.
Choose a haircut around the effect you want
Once you can describe your outline, decide what the haircut should do. You may want to show an angular jaw, add movement around the sides, reduce visible height or simply keep hair away from your glasses. These are preferences, not obligations attached to square or rectangular faces. There is no requirement to soften an angular feature.
If you want less vertical emphasis, compare styles with a lower crown and some presence at the sides. If you enjoy height, keep it and judge the complete result in a front and side view. Hair texture may change the outcome more than a face-shape label: curls create volume differently from straight hair, and a cowlick may resist the reference fringe.
For longer cuts, pay attention to where layers start and where the ends sit. Movement around the cheeks can frame the face differently from length falling in a narrow sheet beside it. A jaw-length cut draws attention to a different line from a collarbone-length one. Try the approximate length with pinned hair if possible, then discuss the limits of that preview with a stylist.
Bring reference photographs with useful details marked in words: the fringe, the amount of ear coverage, the side volume or the easy finish. Mention whether you air-dry and how often you book trims. Ask to see the proposed outline with your usual part. A good decision should still make sense on a weekday when you have ten minutes to get ready.
Change one major variable at a time if you are unsure. Altering length, fringe and colour together makes it difficult to tell which part you like. A smaller adjustment can provide clearer feedback, especially when you are deciding between a compact square impression and a longer rectangular one.
Check frame fit separately from shape
Glasses guides often pair angular faces with round frames, but contrast is only one possible preference. You may like a curved frame that changes the lines near your eyes, or a rectangular frame that repeats them. Try both at a similar width and size so the comparison means something. A much larger pair introduces several changes at once.
First check the bridge, temples and cheek clearance. The frame should sit securely without pinching, and it should not rise dramatically when you smile. Look down, turn your head and wear it for a few minutes if the shop allows. Comfort and stability tell you more about daily suitability than a photograph of a frame held in front of your face.
Then assess the visual effect at a normal conversational distance. Lens depth, rim thickness and the position of the upper edge can change how the face reads. Look at your eyes within the lenses and check whether the frame sits where you expect. An optician can help assess fit and discuss lens-related constraints for the actual prescription.
For your final choice, use a description that survives the uncertain label: angular jaw, relatively straight sides, longer or more compact overall outline. Add your preference for a bold rim, a light frame or a particular colour. Square and rectangle are useful starting words. The pair that fits, feels comfortable and looks right to you is the useful outcome.